Before reading this blog section, I advise you to visit this site. I’m sure you will be amazed with the snapshots provided.
Of course, abstract photography is nothing new, and people constantly come up with new — or reinvent old — versions of photography techniques. But nevertheless, such a trend in photographic art as smoke photography continues to strike the imagination of many people giving ground for thoughts and debates. The art of photographing coloured smoke is one on the stunning examples of abstract photography and one can hardly stand admiring the gorgeous and charming beauty of smoke plumes the fretwork of which is unique and inimitable. And this time I will break my rule, that is to avoid any descriptions of photographic techniques, and give you a brief but useful tips on smoke photography as, I think, they might help you if you want to take a picture of this kind.
Before anything, it is important to say that there is no ‘right’ way to photograph smoke. You can develop your own technique that is radically different from all existing now. Here are some pieces of advice on how to take quality pictures. The two key secrets to smoke photography is inverting the image, and using gray smoke. The colours are generated digitally at a later stage. To get the best possible smoke to work with, you can use simple incense sticks, which can be purchased from most supermarkets. You also need to hang up a black or white background behind the burning stick. The most important thing when photographing smoke is getting enough light to freeze the motion of the smoke in mid-air. You can do this by using a lot of light (for instance, direct sunlight falling through a window) or by using one or more flashes. When you are photographing, it is easiest to let the smoke rise on its own volition. Instead of trying to manipulate the incense stick, try producing some motion into the air to disturb the even plume. Alternatively, you can try to create interesting shapes by making the plume turbulent: try introducing a ruler, an upturned spoon, or a sheet of paper into the plume to alter its shape. Now that you’ve captured the photos, it’s time to take them to your digital laboratory. Crop your image to a composition you prefer, and then use levels or curves to adjust the contrast of your photos. To colourise the smoke, use the hue and saturation tool. You can apply the colour to the whole image or you can colorise part of the image, or use multiple colours. Isn’t it nifty?
I’m sure if you ever try to follow these recommendations, you’ll be very pleased with what you’ve got. The technique is really easy and it does not demand any special expensive equipment so you can do this even at home. Sounds attractive, right? 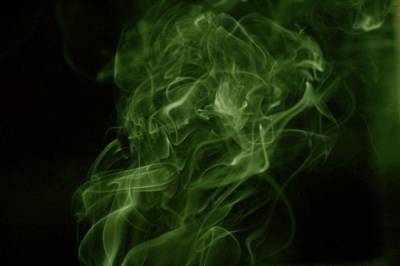 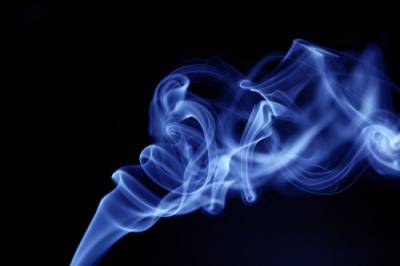 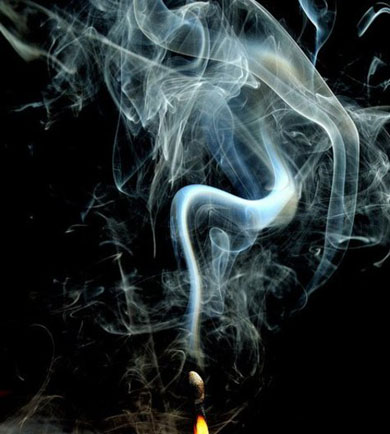 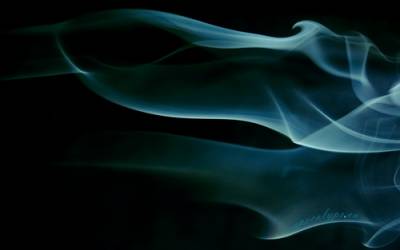 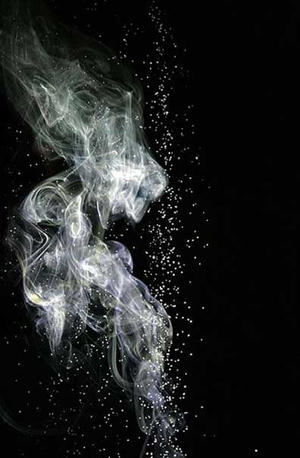 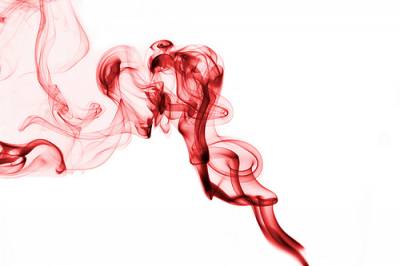 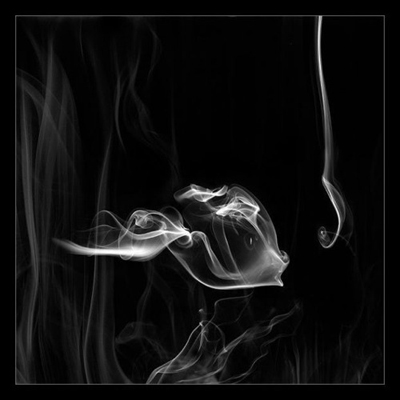
|


